Action replacement or repair, and Re-stringing
We offer a full action repair and reconditioning service, replacing all felts, leathers and springs where needed in consultation with the customer and working within their budget. If desired, the whole action can be replaced with brand new parts, either sourced from Renner in the US, or Abel in Germany. We can also remove all the strings, re-crown and varnish the soundboard, re-gild the cast iron frame, and fit new strings and tuning pins. Here are a series of pictures documenting the process for an Art Case Steinway Model A from 1894.
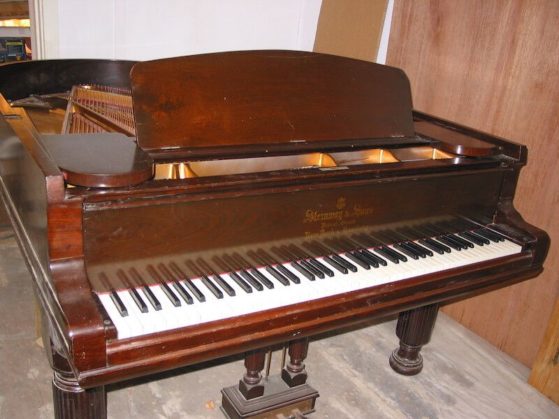
Steinway Model A #77066 Rebuild
1) Soundboard and Frame
Here is the piano in it’s original state after purchase for the sum of $18,000. The keys and damper underlevers were cracked and split due to oxidisation of the lead balancing weights, the action was worn, strings were rusty and tubby sounding, the soundboard had cracks and had lost it’s crown, and tuning pins were loose and corroded.
Before disassembly.
In order to restore the original crown on the soundboard, the circumference of the curve has to be increased, to compensate for loss of curvature over time. This is done by adding additional material, preferably with similar acoustic properties to the original spruce.
The first step was to remove all the strings, lift out the cast iron plate, and scrape the finish off the soundboard:
Soundboard with finish scraped off
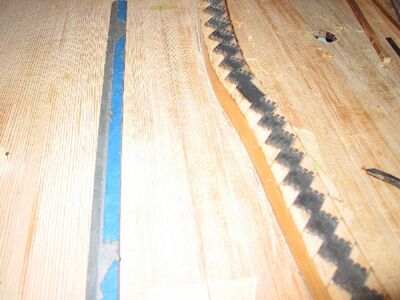
The soundboard was then heated to enlarge the cracks, and then the cracks were shimmed with spruce wedges
Soundboard shimming
These shims were carefully fitted to the cracks, and then glued into place with ‘go bars’
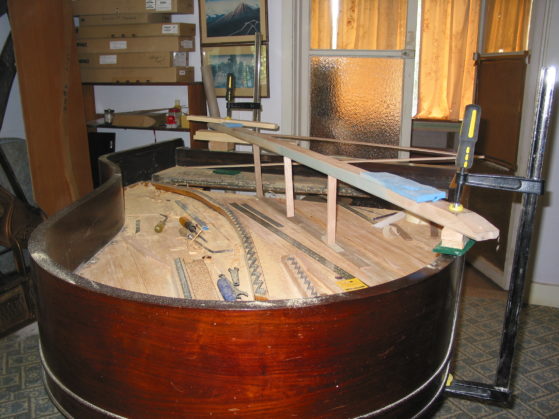
Go Bars
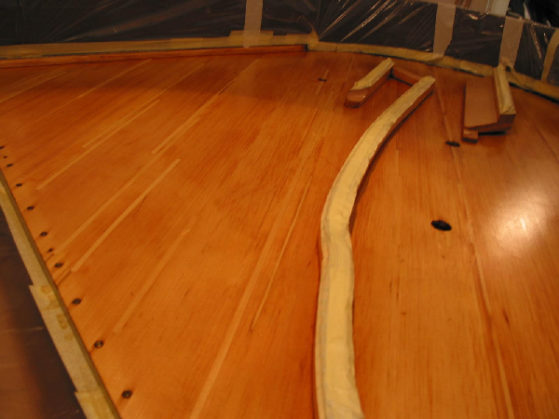
The soundboard was then carefully sanded
Soundboard sanding
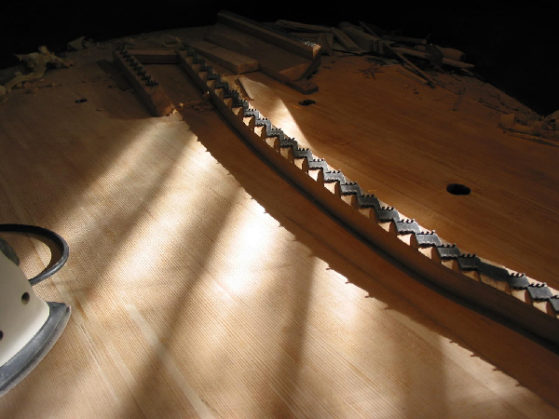
…and the bridges freshly notched

Bridge notching
The first coat of lacquer was then applied
First coat of lacquer
…. and the second
Second coat
The age appropriate decal was then fixed in position and applied
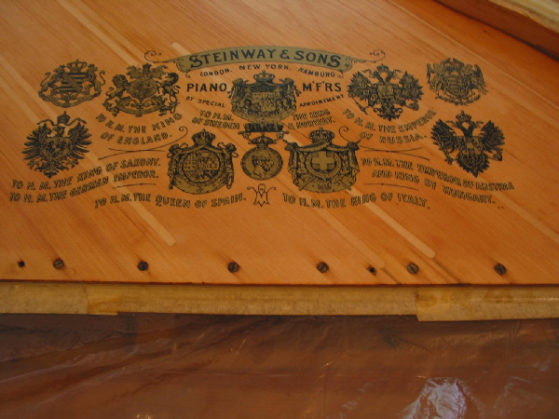
Applying the Decal
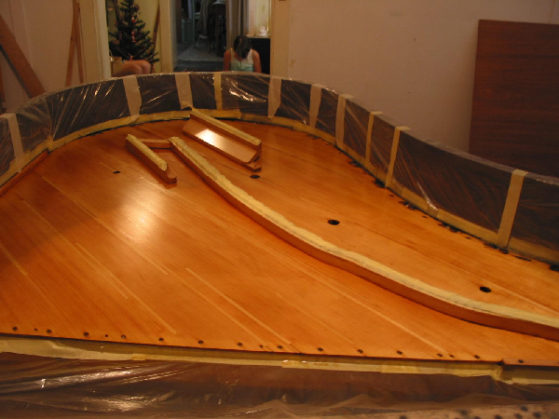
The soundboard was then given the final clear gloss coat
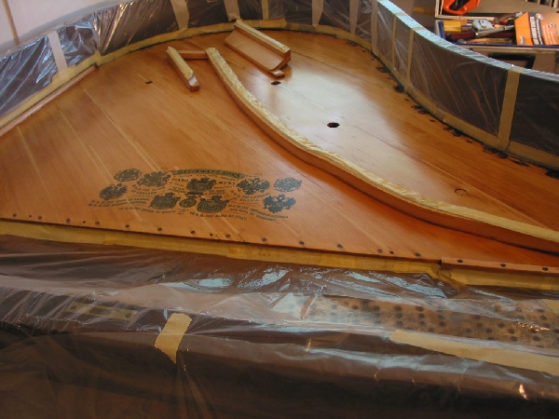
Ready for Gloss Coat
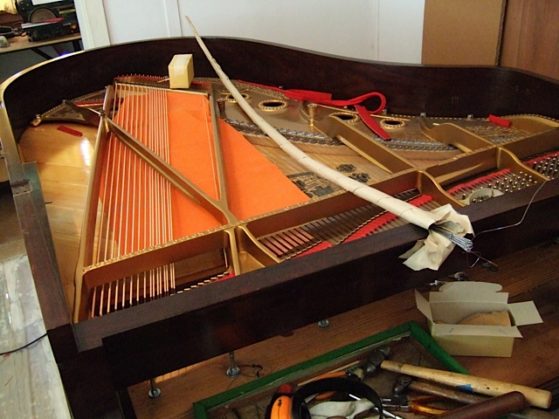
Next came the cast iron frame. Here is a photo taken before the work began
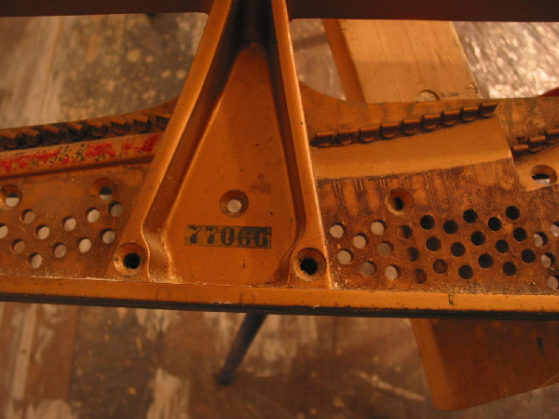
Frame before preparation
The frame was then stripped, filled, sanded back and undercoated
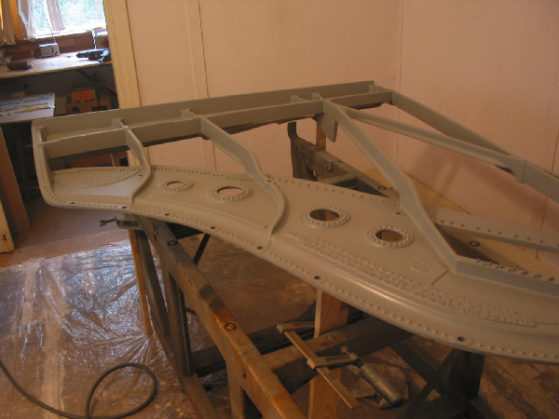
Frame with undercoat
Here it is after the first bronze coat. Special pigments are used to get the colour right
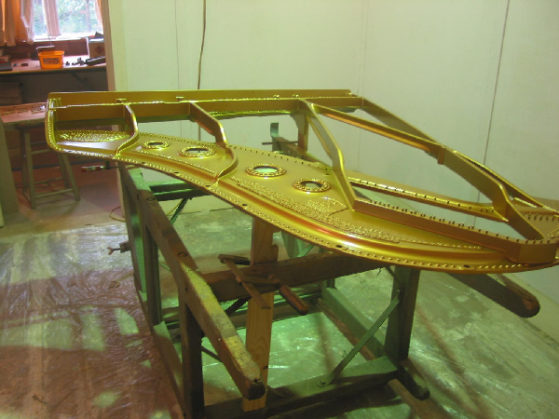
First Bronze Coat
…. and here it is after the final clear coat
Final Clear Coat
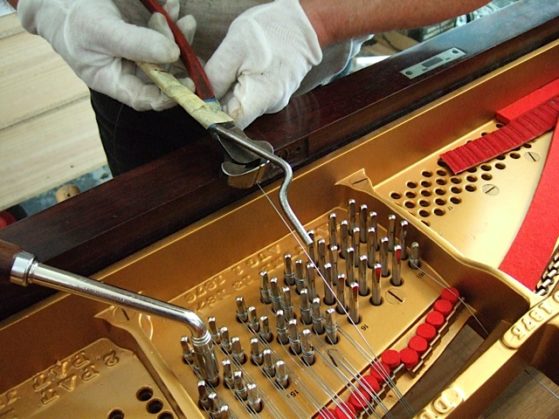
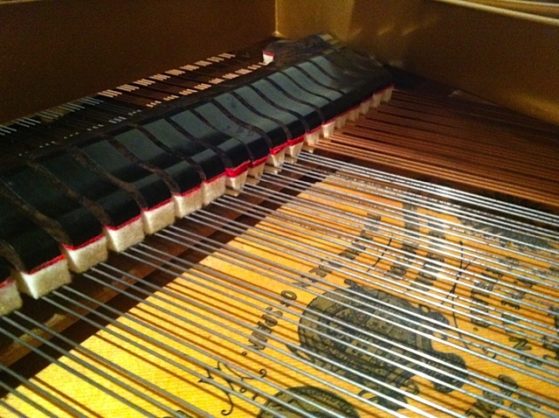
The frame was then re-inserted, and the new tuning pins and strings were fitted
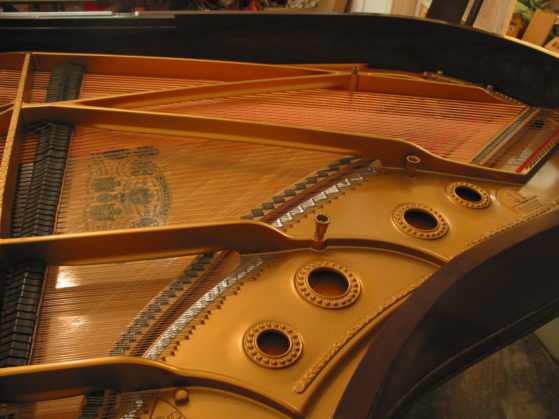
Stringing and repinning completed
Steinway Model A #77066 Rebuild - Damper Underlevers
The next step in the process was the rebuilding of the damper underlever assembly. Here is a photo of the original split and broken parts!
Swollen leads splitting damper underlevers
First, all of the oxidised lead weights were drilled out

Drilling out old lead
…..and the swollen and split parts were repaired and straightened
Underlever split repaired
New lead weights were then cast
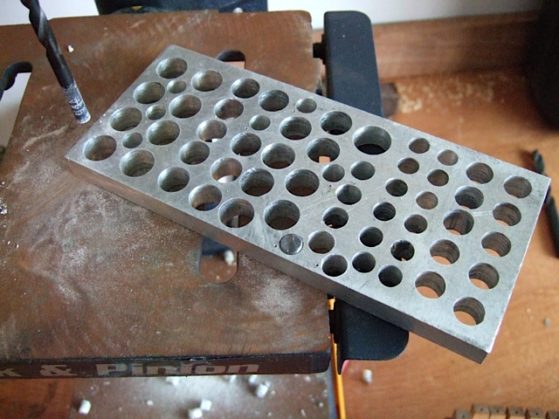
Casting different size leads
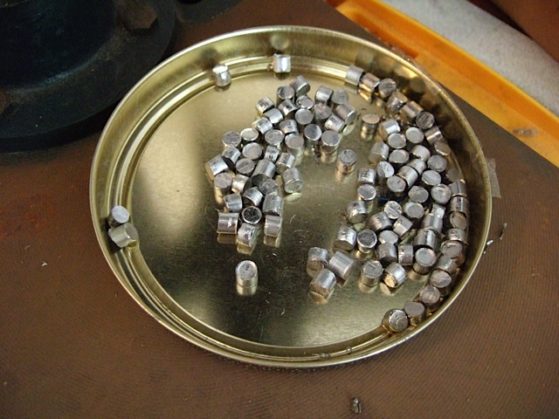
New leads ready for fitting
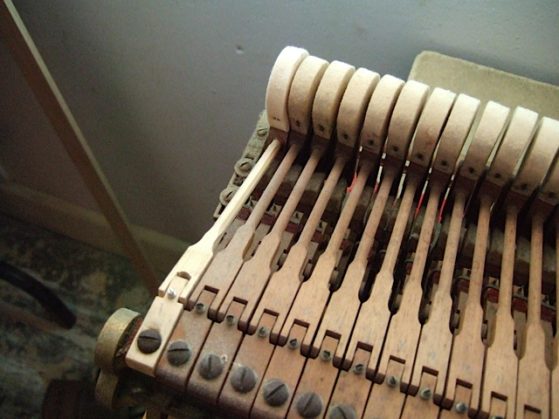
The underlevers were then spaced and travelled and prepared for fitting the new lead
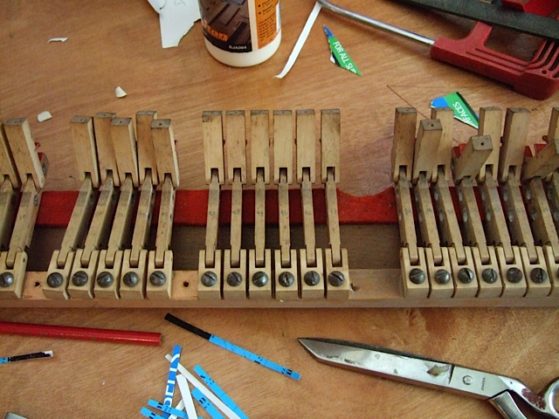
Spacing and travelling damper underlevers
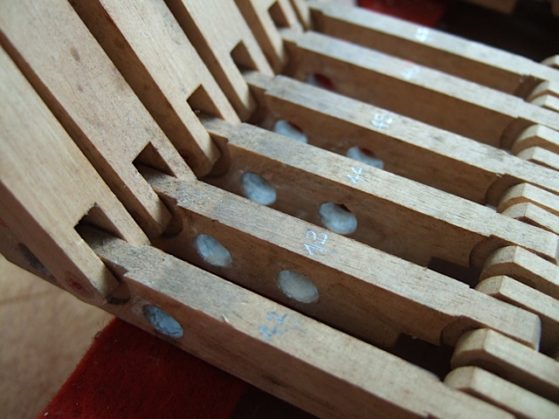
Ready for New Lead
The new lead was then fitted and stamped to fill the holes tightly
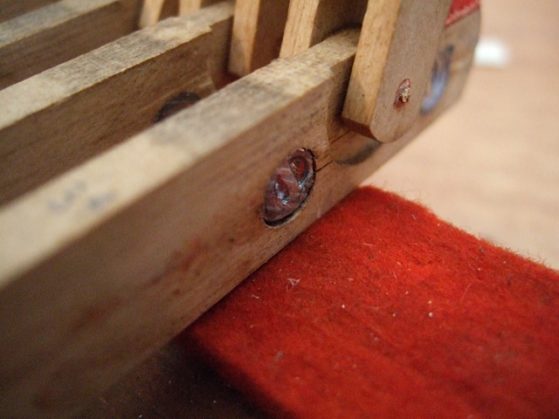
New lead fitted and stamped
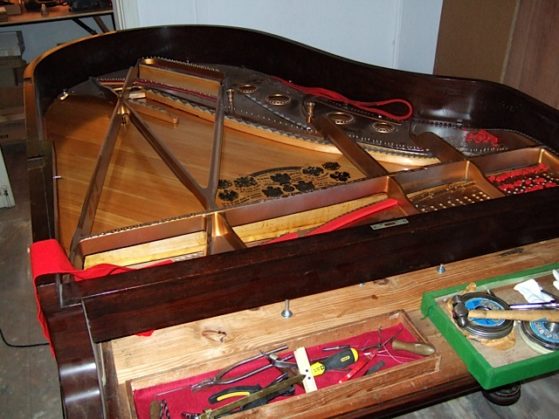
Steinway Model A #77066 Rebuild - Stringing and Dampers
After refitting the frame the restringing process began. Before disassembly detailed records had been kept of the various string diameters, positioning of the felt mute strips, and any other positioning issues with the aliquots etc
Here is a picture of the bass strings being made by Lou Parke of Parke Piano Strings in Frenchs Forest
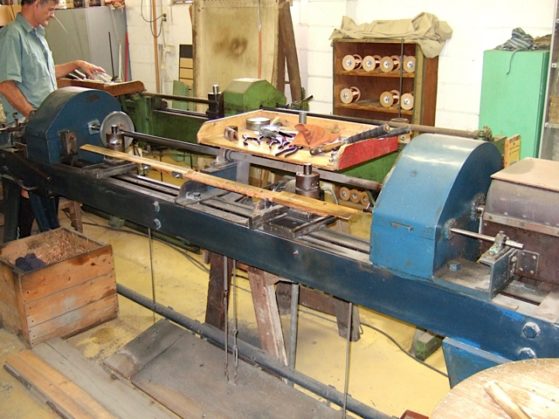
Making the Bass Strings
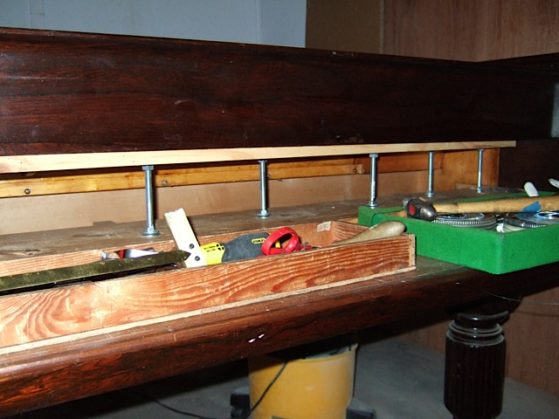
The case was then prepared for stringing, by cutting all the various under stringing felts to size
Stringing Preparation
The pin block was supported from below to take the strain of the new tuning pins being hammered into the block
Pinblock Supports
First to be strung was the second treble section
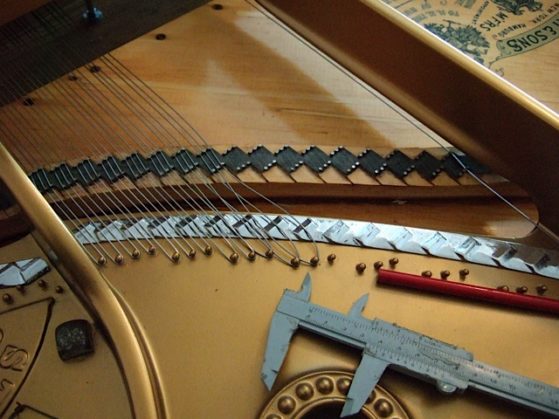
Stringing First Treble Section
The coil lengths were carefully measured
Measuring Coil length
After the treble strings were complete the bass strings were fitted
Stringing Bass Section
The agraffes were cleaned and polished
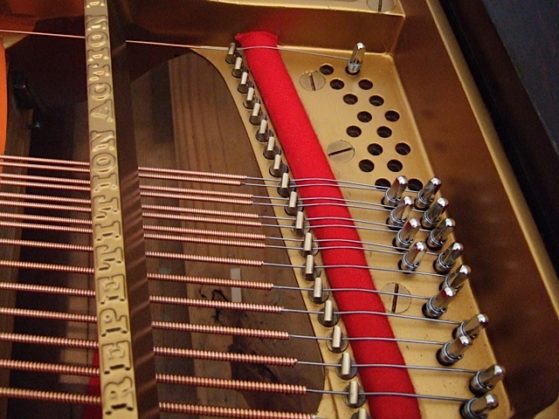
Bass section Close Up
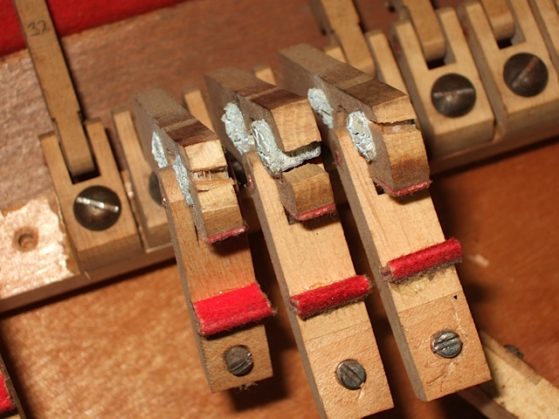
When the stringing was complete the new damper felts were fitted
New dampers
Damper felts Close Up
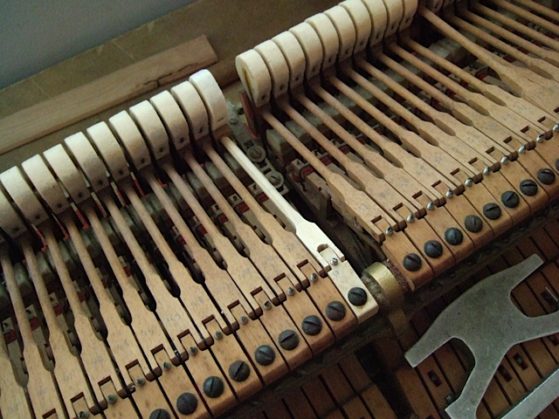
Steinway Model A #77066 Rebuild - Action & Frame Detail
The keys were treated in the same way as the damper underlevers, all the corroded lead being drilled out and the splits and cracks glued and clamped. Each key was then weighed and balanced, with new lead being fitted to provide a perfectly even and accurate feel.
The old balance rail and front rail key bushing were removed, the holes sized with brass accucauls, and new bushing cloth fitted. The keyed pins were polished smooth and coated.
The hammer assembly was then replaced. Here are the hammers in their box:
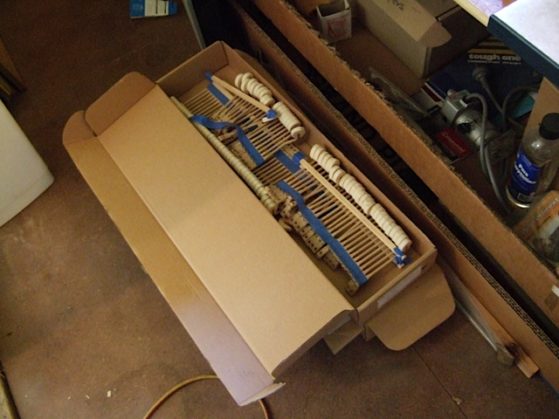
New hammers in box
Here is an example of the first guide hammer in the bass
Trial Bass Hammer
And in the mid section.
Trial mid section hammer
After the action rebuild was complete, many hours of regulation and voicing were undertaken, to bring out the true character and individual sound of the instrument
The final job was to redo the frame lettering! Here is the bass section
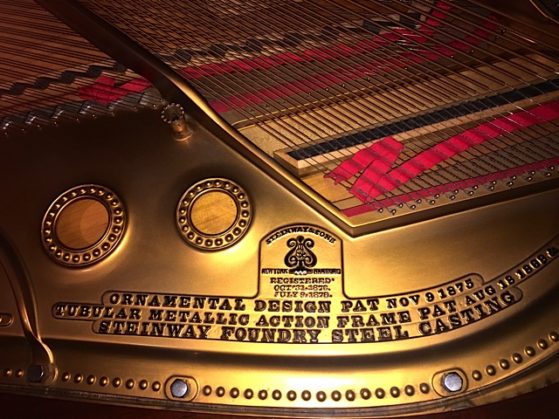
Frame - bass detail
And the treble
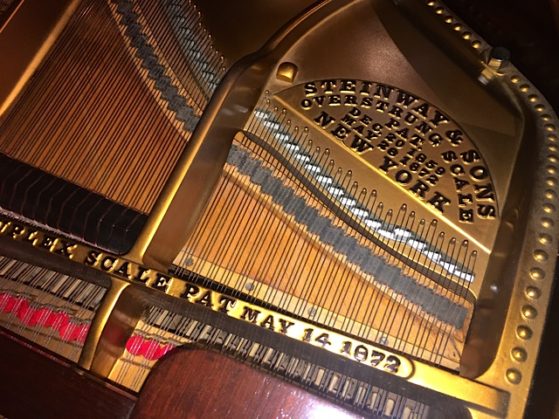
Frame - treble detail
And finally, the mute felt stringing pattern was duplicated
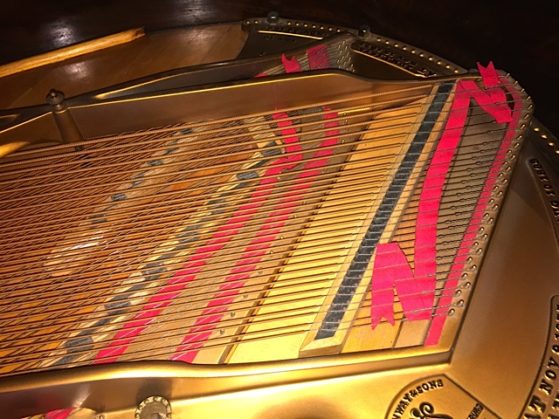
Bass strings muting felt pattern
Steinway Model A #77066 Rebuild - French Polishing
Under normal circumstances the stripping and french polishing of the case would be done while the cast iron frame was out of the piano, but because this restoration was done in stages, by the time it was to be polished the stringing and frame gilding had been completed and reinstalled.
This meant everything had to be masked off, and a couple of weeks of hand scraping to remove the finish from the inside of the case next to the frame! The pedal lyre plate was sent off to be re-chromed, and the rest of the outside stripped, sanded, and the grain filled ready for the shellac.
Here are a few photos of the finished job:
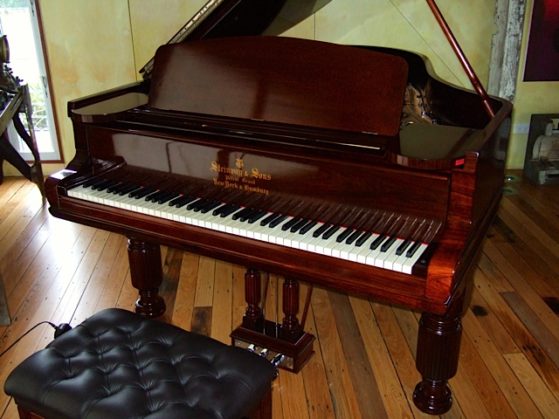
Front Case detail
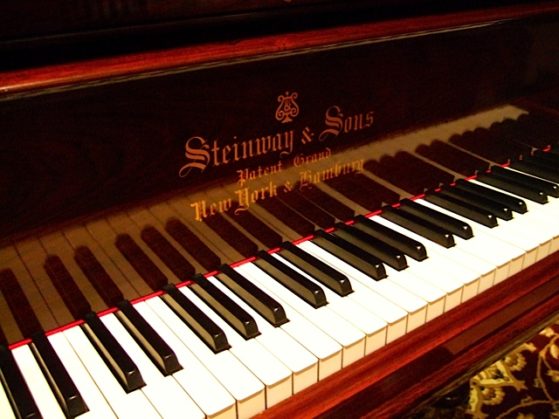
Keys and fallboard close up
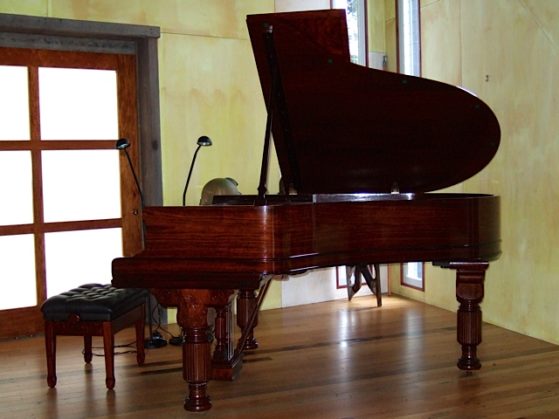
Side view case detail
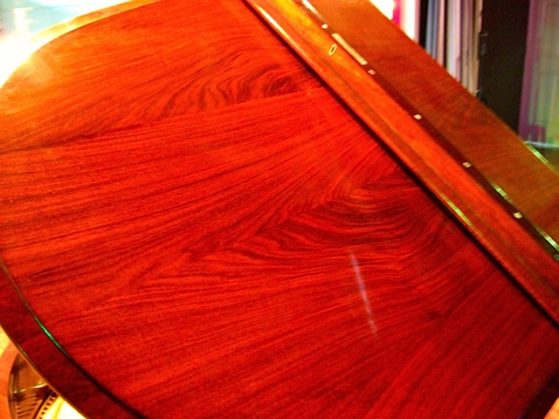
Top lid detail

Bass end case detail
Side view & keys detail
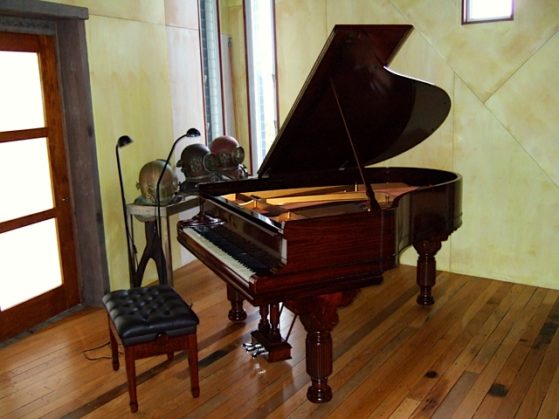
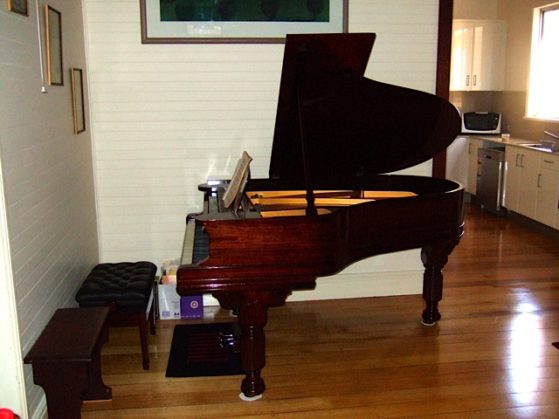
Case Overview
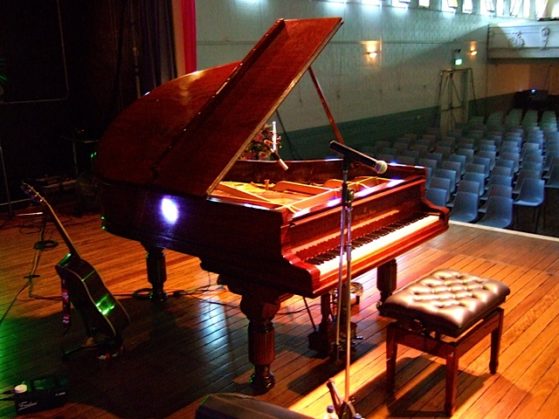
And finally, here is a photo of the one time it went out on a hire. Tim Minchin played a concert in the Bangalow Hall.